Plug & play event lighting — sync lights to the moment
Turn a $5 ESP8266 into a real event lighting controller — the same kind of setup event companies charge hundreds of dollars to rent. Three control modes, ready-to-flash firmware, and a 28-page illustrated guide take you from zero to your first light show in a weekend. No coding experience, no special tools, no expensive pro gear. Just ~$30 in parts.
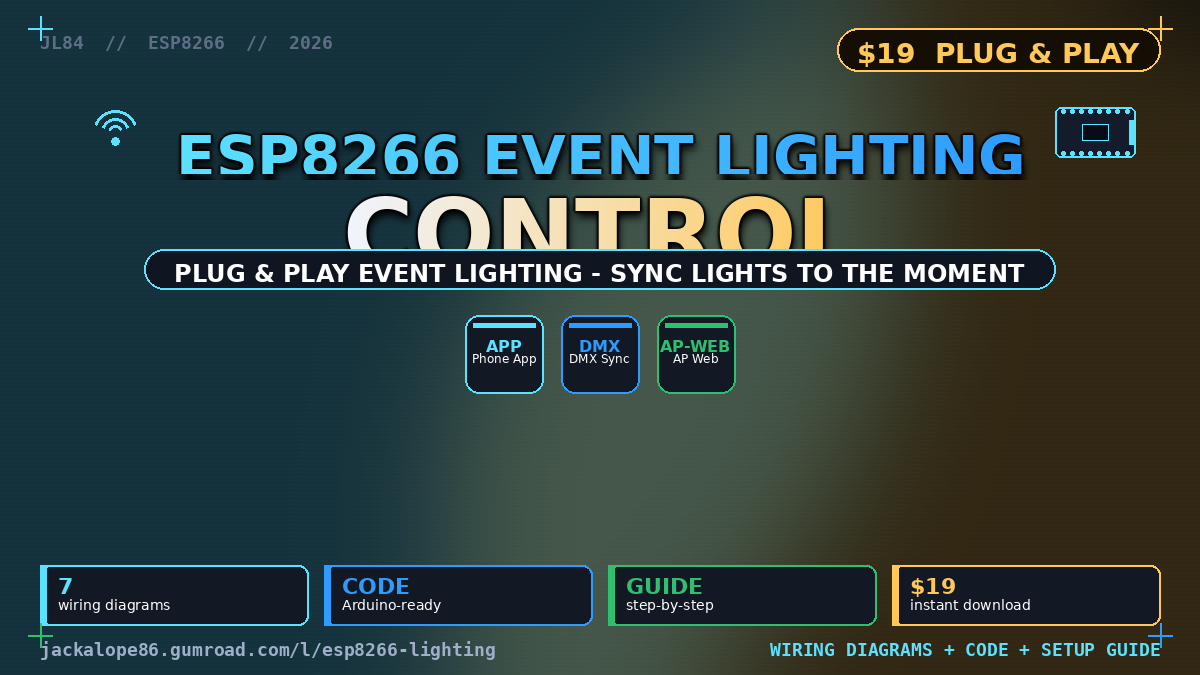
The parts, at a glance.
| Microcontroller | ESP8266 (ESP-12E — NodeMCU, Wemos D1 mini, or compatible) |
|---|---|
| LED strips | WS2812B (addressable RGB) · APA102 (DotStar) |
| Control modes | 3 — AP Web Control · Phone WiFi · DMX Sync |
| Power | 5V DC (USB or VIN) for the ESP8266 and LED strips |
| WiFi | 802.11 b/g/n, 2.4 GHz — AP mode and station mode |
| LED data pin | D4 (GPIO2) — the same pin for all 3 modes |
| DMX output | 6-channel DMX512 universe via MAX485 RS485 transceiver |
| Firmware | 3 ready-to-flash Arduino sketches (FastLED-based, commented) |
| Documentation | 28-page guide (PDF) · 6 wiring diagrams (PNG) · BOM (CSV + PDF) |
Your lights should move together.
You've seen it at weddings and gigs: a whole room pulsing with the music, one person tapping a phone. You assumed it took a pro and a five-figure budget. It doesn't — a $5 microcontroller, a relay or LED strip, and this pack, and you can build it yourself this weekend.
AP web control
The ESP8266 creates its own WiFi network called EventLights. Join it with your phone, open 192.168.4.1, and control your lights from the web page — no app, no router, no internet needed. Perfect for venues with no WiFi, and for your very first test build: lights responding to your phone in under an hour.
Phone app / WiFi
The ESP8266 joins your home or venue WiFi as a normal client. Control from any phone on the same network — across the room, several phones at once, with scene presets ("dinner", "dance floor", "ceremony"). Ready to plug into Blynk, MQTT, and Home Assistant later.
DMX sync
Become a 6-channel DMX512 controller over a MAX485 transceiver — drive PAR cans, moving heads, and LED bars on a standard DMX chain. Add a mic on A0 for beat-synced effects, or let a lighting desk (QLC+, MA2) drive the rig while the ESP8266 runs as beat-synced backup.
From parts to first light, step by step.
The full guide has a diagram for every step. Here's the flow so you know exactly what you're getting into before you buy.
This build is low voltage — 5V for the ESP8266 and addressable strips (12V/24V if you use relay-controlled strips). You never touch mains wiring; if a setup involves mains-voltage lighting, that part must be done by a qualified electrician, and the guide marks exactly where that line is. Add a properly-rated fuse on the power input for extra protection.
An ESP8266 board (~$5), an addressable LED strip (WS2812B is the default), a 5V supply sized for your strip, and jumper wires or screw terminals. The BOM lists every part with exact specs and where to order.
Connect the strip's 5V and GND wires to the power supply. Don't power a long strip from the ESP8266's own 5V pin — the board can't supply enough current; the strip gets its own supply.
Wire D4 (GPIO2) to the strip's data-in. For APA102, add the clock pin the same way. The detail beginners miss: connect a GND between the ESP8266 and the strip's supply — a common ground is required for reliable data, or colours glitch and the strip misbehaves.
Install the Arduino IDE, add the ESP8266 board package (one URL in Preferences), open the sketch for your mode, and press Upload. No coding to write — you only fill in your WiFi name and password for Modes 2 and 3.
Plug in 30 LEDs before you install anything permanently. If colours look swapped, change one line — COLOR_ORDER between GRB, RGB, or BRG — and re-upload. Ten minutes now saves an hour at the venue.
Mount the rig and run the data line. For long runs (over ~2–3 metres, or 150+ LEDs at full brightness), inject 5V + GND at the far end or middle with thicker wire. That's the "power injection" trick that makes big, bright setups work.
Everything you need, nothing you don't.
Step-by-step, beginner-friendly, wiring diagrams at every step, troubleshooting section.
AP web, WiFi/app, and DMX sync. Commented and adjustable — no coding required.
Full-color, labeled: power, ESP8266 pins, LED strip, AP mode, WiFi mode, DMX, multi-zone.
Every part with quantity, spec, and where to order. Saves hours of sourcing.
Printable, keeps you on track mid-build.
One-page reference — and future updates to the pack, free.
Built for people who want real lights, not a rental bill.
From real event jobs — redrawn so a beginner can follow.
Things builders ask before they buy.
Do I need to know how to code?
No. The firmware is ready to flash — you upload it like installing an app. The guide explains every step, and the only thing you type into the code is your WiFi name and password. If you can use a phone, you can build this.
Which LED strips work with this pack?
The default and best-supported are WS2812B addressable strips (the "NeoPixel" type) — 5V, individually addressable, widely available. APA102 (DotStar) strips are also supported: they use a separate clock line for rock-solid refresh on longer strips. The firmware uses FastLED and has a one-line LED_TYPE setting to switch. 12V/24V strips and mains fixtures are covered via relay modules in the guide's advanced section.
Do I need to solder?
No. The starter build uses jumper wires, screw terminals, or plug-in connectors — no soldering required. If you already enjoy soldering, the guide includes tips for cleaner, more durable connections, but it's completely optional.
ESP8266 vs ESP32 — which should I use?
This pack is written for the ESP8266 (NodeMCU or Wemos D1 mini), which is cheaper, simpler, and perfect for 4–8 lighting zones. If you later outgrow it — more zones, Bluetooth, or heavier processing — the ESP32 is the natural step up, and the pack explains what changes. For most first builds, the ESP8266 is the right choice.
How many LEDs can I control?
Practically, 100–300 LEDs per zone is a comfortable range for the ESP8266 and FastLED. The real limit is usually power, not the chip: WS2812B LEDs draw up to ~60mA each at full white, so a 300-LED strip can pull ~18A at peak. The guide walks you through splitting a big install into zones and injecting power.
How do I size the power supply?
Estimate about 60mA per LED at full brightness, then derate for real-world use — most effects never run full white, so a supply at 60–80% of theoretical peak is usually plenty. For example, 150 WS2812B LEDs ≈ 9A theoretical peak → a 5V/10A supply covers it comfortably. The BOM and guide give sizing examples for common strip lengths.
What is power injection and when do I need it?
Power injection means feeding 5V + GND into the strip at points besides the start — usually the far end or middle. Long strips and high brightness cause voltage drop: LEDs near the end look dimmer or shift colour. If your run is more than ~2–3 metres, or you're running 150+ LEDs bright, inject power every few metres using thicker wire. The guide's diagrams show exactly where to tap in.
Will this work for a wedding or DJ event?
Yes. The methods in this pack are field-tested on real event jobs in Singapore — weddings, parties, and corporate events — and the guide includes failover guidance for the scary part: what to do if WiFi drops mid-show (plus a wired DMX path that doesn't depend on WiFi at all).
Build your first light show this weekend.
One-time $19. Instant download. The same results event pros charge hundreds for.
🛒 GET THE PACK — $19 // secure checkout · instant download · 14-day refund window